
How to cure your own bacon at home
Curing pork belly with salt is one of the oldest methods of preserving meat, resulting in a rich, flavorful slab of bacon that can be sliced and cooked or even enjoyed as a dry-cured delicacy. This method relies on dry curing—using only salt to draw out moisture and inhibit bacterial growth—without the use of nitrates or other curing agents.
Ingredients & Equipment
Ingredients
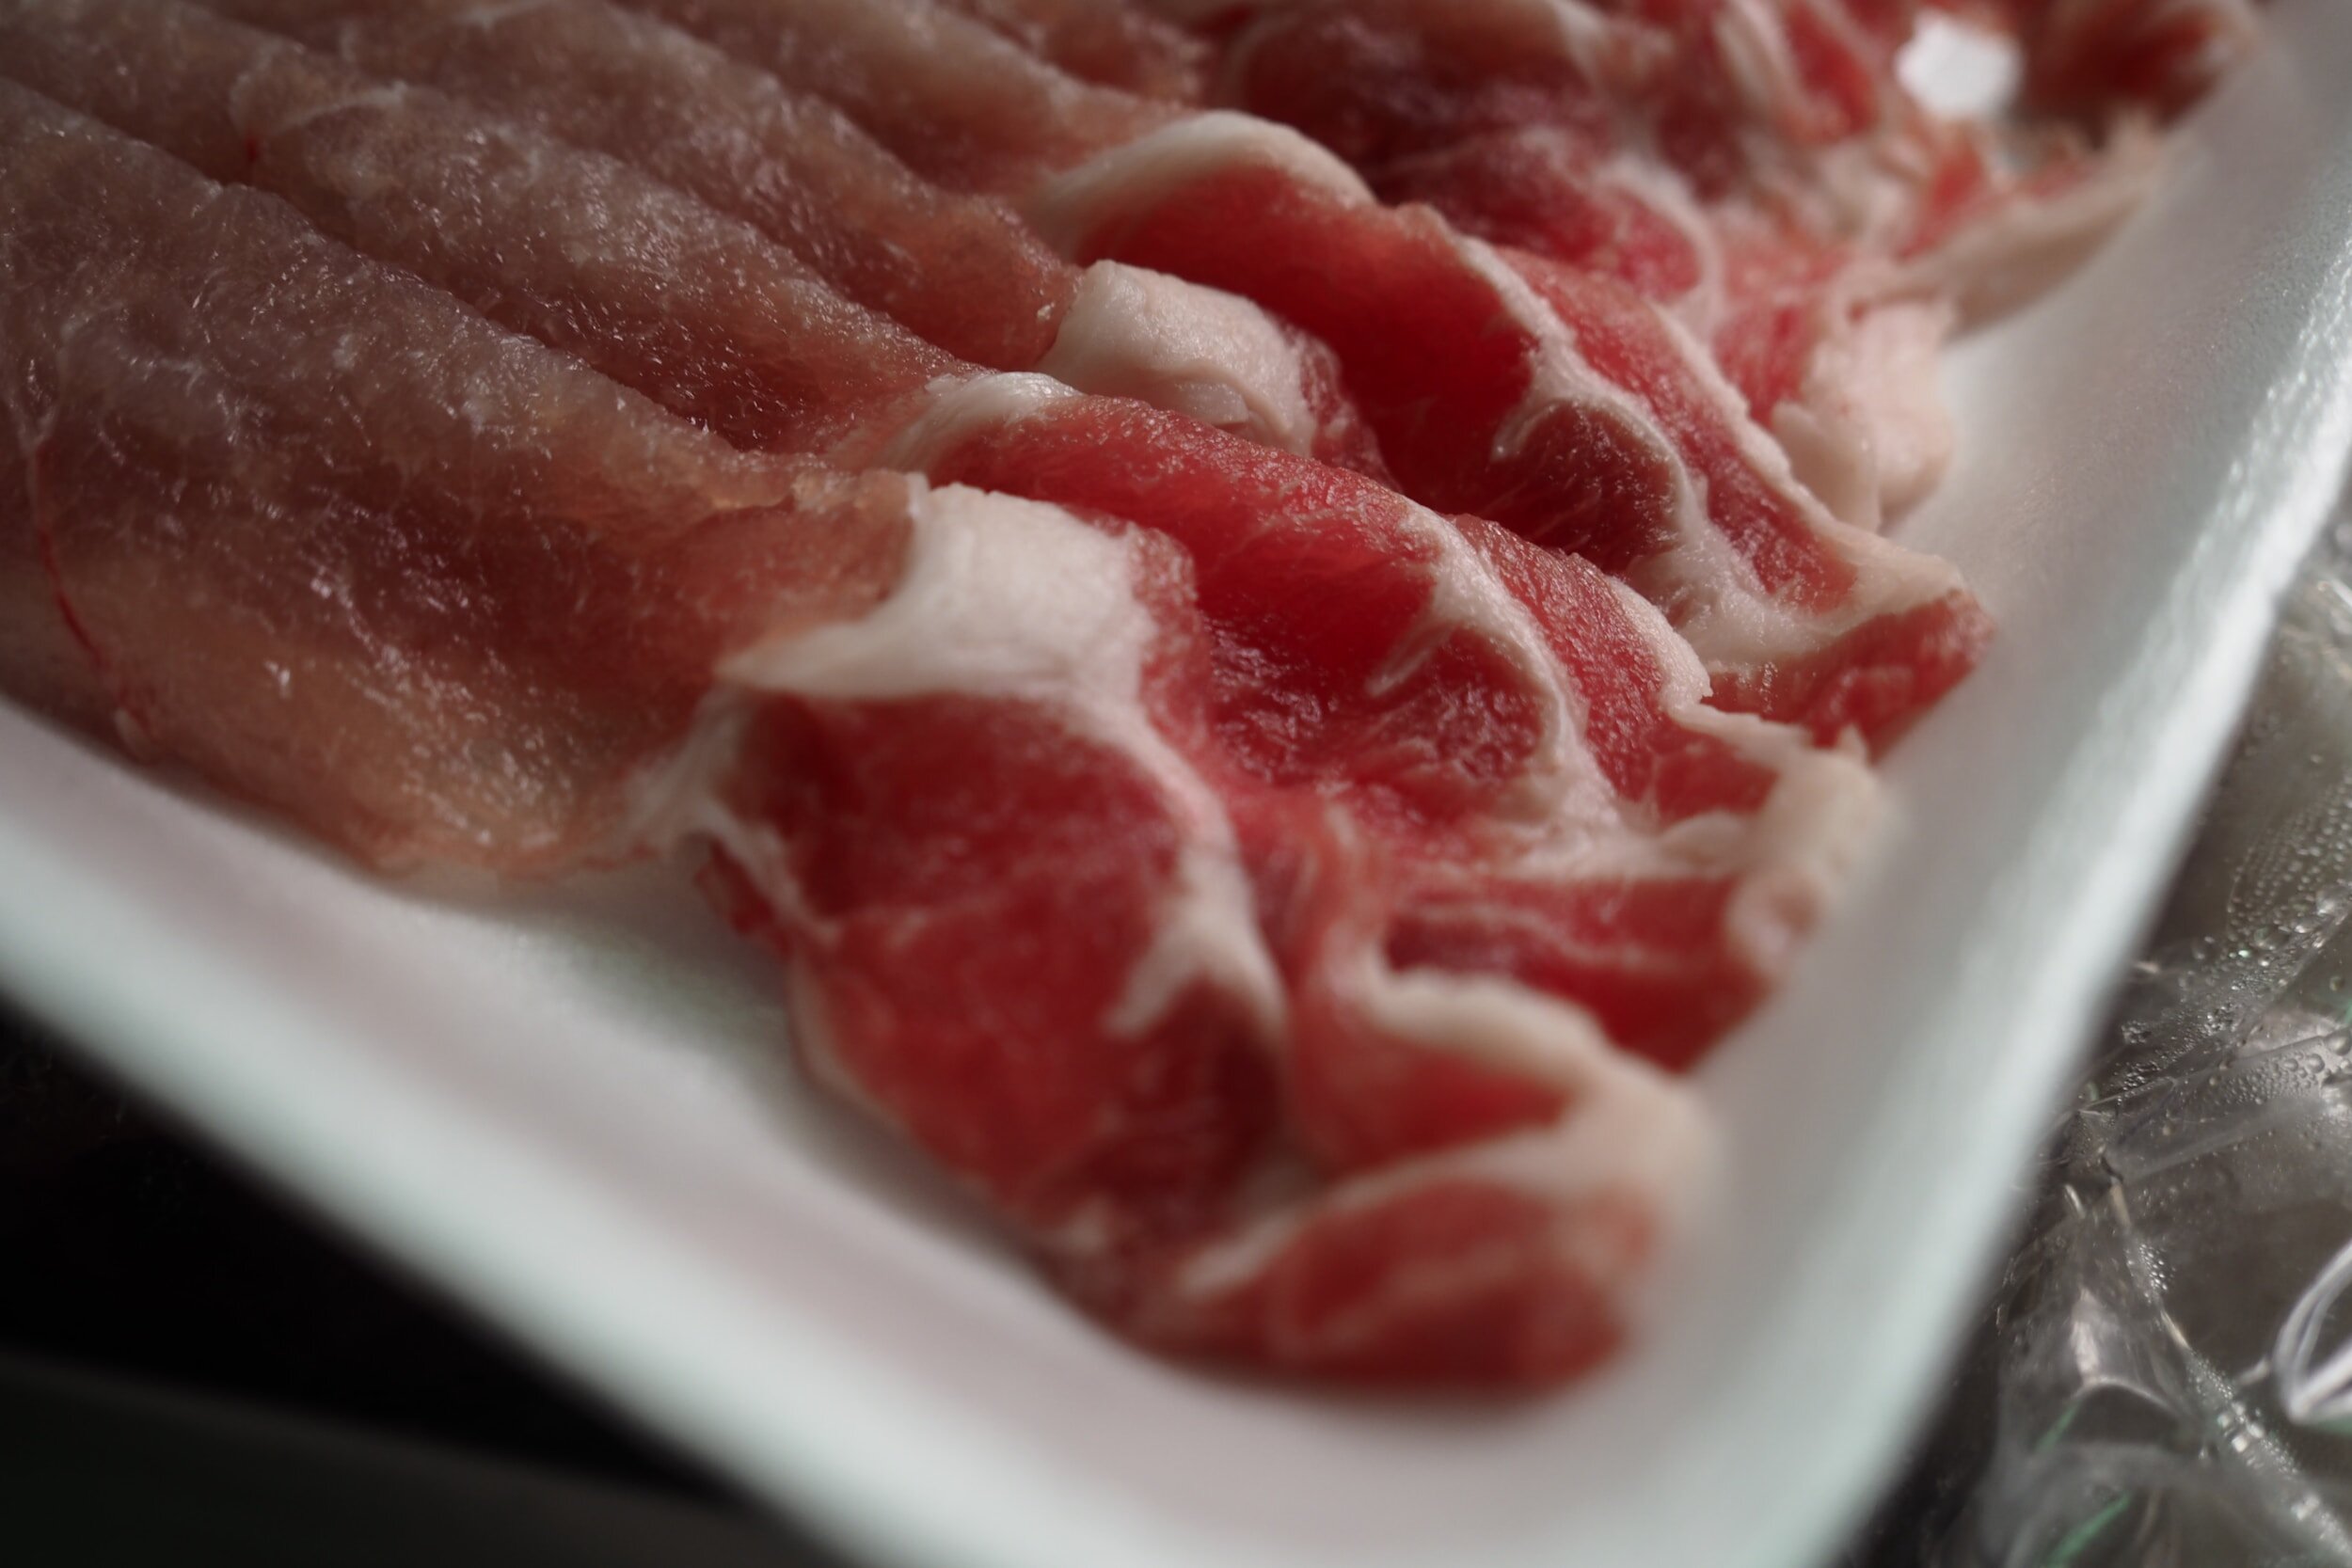
1 slab fresh pork belly (2-5 lbs)
Kosher salt or sea salt (non-iodized) – about 3% of the meat’s weight
Optional: Black pepper, herbs (thyme, rosemary), crushed garlic for additional flavor
Equipment
A digital kitchen scale (to measure salt accurately)
A large non-reactive container (glass, stainless steel, or food-safe plastic)
A rack or perforated tray (to allow liquid to drain)
Refrigerator space (to maintain the right curing temperature)
Cheesecloth or butcher’s paper (for wrapping if dry-aging after curing)
Method: Salt-Curing Pork Belly
1. Prepare the Pork Belly
Start with a fresh, high-quality pork belly, preferably from pasture-raised pigs for better fat quality.
Pat it dry with a paper towel and trim any excess loose fat or skin if needed.
2. Measure and Apply the Salt
Weigh the pork belly and calculate 3% of its weight in salt (e.g., for a 2.5 lb slab, use about 34 grams of salt).
Rub the salt evenly over the entire surface of the meat, including the sides.
If desired, add black pepper, crushed garlic, or herbs for flavor—but avoid sugar, as this is a traditional salt-only cure.
3. Curing Time and Refrigeration
Place the pork belly in a non-reactive container on a rack or perforated tray to allow liquid to drain. If using a dish, pour off excess liquid every day.
Cover loosely with a clean towel or parchment paper (do not use an airtight seal, as some airflow is beneficial).
Refrigerate at 34-40°F (1-4°C) for 7-14 days, flipping the pork belly every other day.
The curing time depends on thickness:
Thin slabs (~1 inch thick): 7 days
Thicker slabs (1.5-2 inches): 10-14 days
4. Check for Doneness
After the curing period, the pork belly should feel firm to the touch, indicating that enough moisture has been drawn out.
If it still feels soft, cure for a few more days.
5. Rinsing and Drying (Optional)
If you prefer a milder saltiness, rinse the pork belly briefly under cold water and pat dry.
Let it air-dry in the fridge uncovered for 24 hours to allow the surface to firm up before using.
6. Storing and Using the Cured Pork Belly
The cured pork belly can be sliced and cooked like fresh bacon or left to dry further.
For extended storage, wrap it tightly in cheesecloth or butcher’s paper and store in the fridge for up to 3 weeks or vacuum-seal and freeze for up to 6 months.
For Longer Preservation: Dry-Aging the Bacon
If you want a firmer, more intense flavor, you can dry-age the cured pork belly:
After the curing period, wrap it in cheesecloth and place it on a rack in the fridge.
Let it dry-age at 34-40°F (1-4°C) for 2-4 weeks, flipping occasionally.
The bacon will develop a richer taste and firmer texture, ideal for slicing thin and enjoying like pancetta.
Final Thoughts
Salt-only cured pork belly is a pure, traditional way to preserve and enhance pork flavor. The key to success is accurate salt measurement, proper curing time, and temperature control. Whether you fry it up as bacon or enjoy it thinly sliced as a charcuterie-style meat, this natural curing method produces a delicious, chemical-free alternative to store-bought bacon.